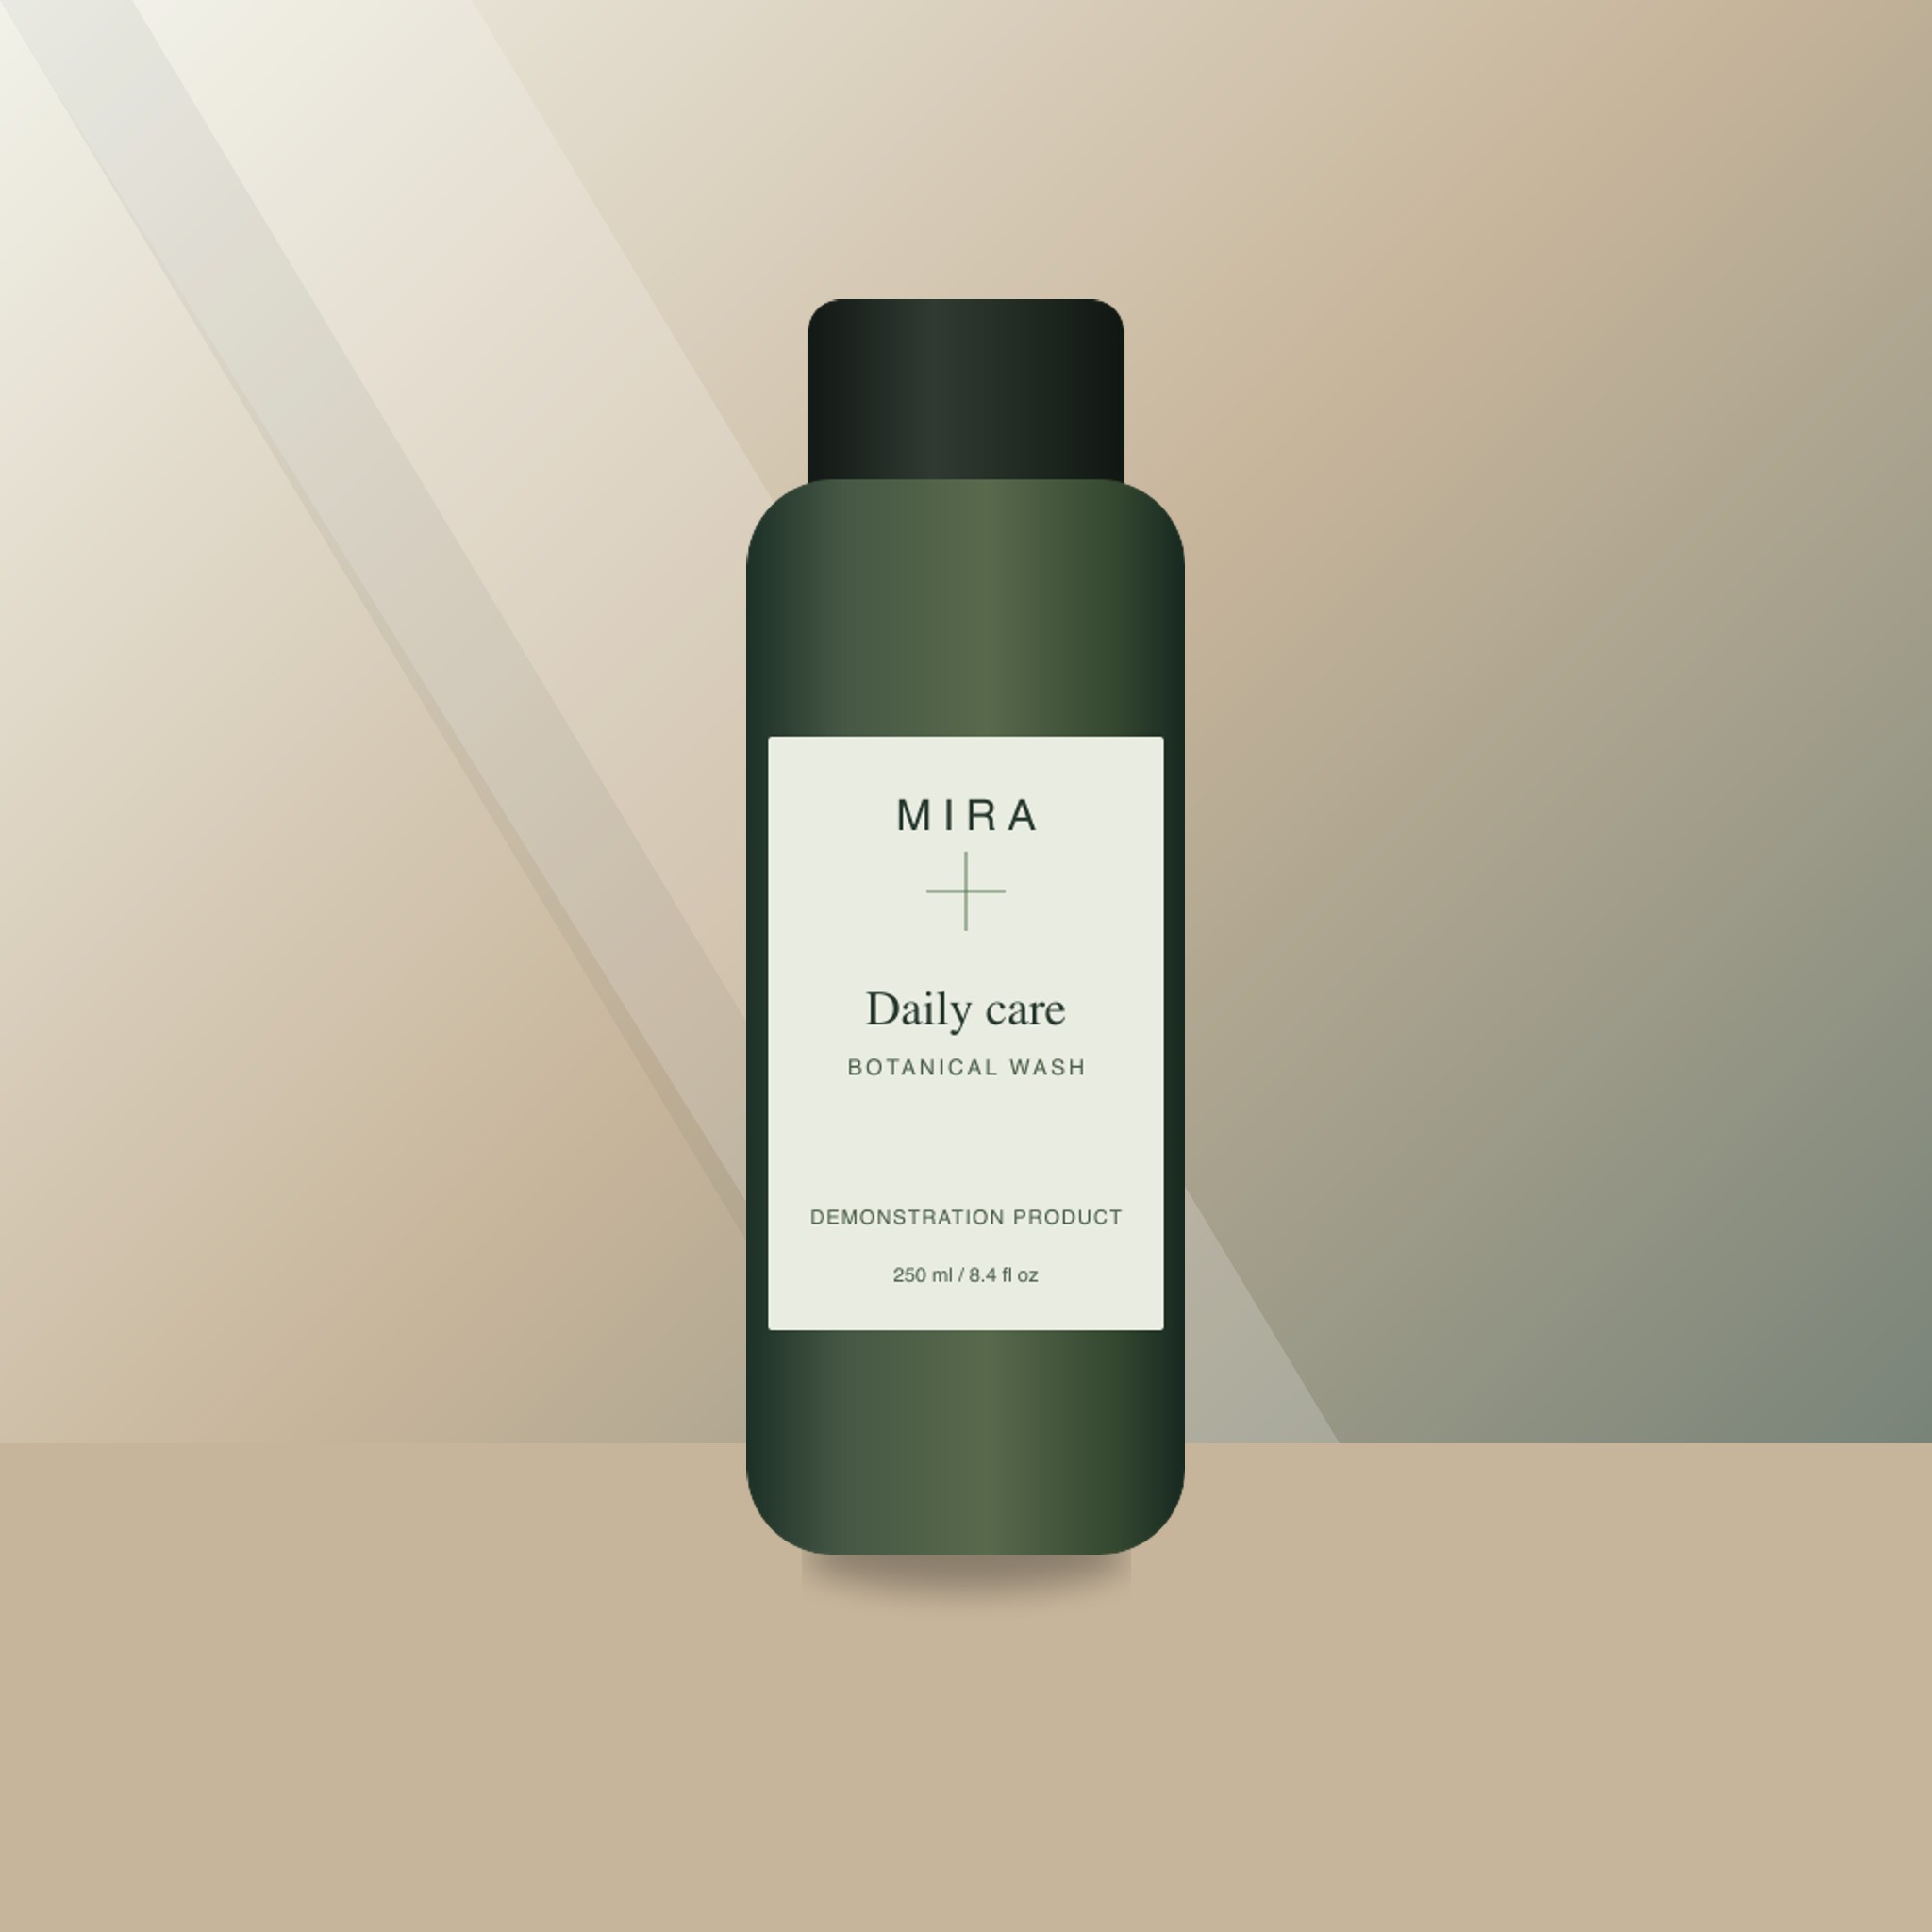
For e-commerce food brands, great imagery does two jobs simultaneously: it creates immediate appetite appeal and delivers clear legal clarity. Unlike fashion or home decor, food product photography must preserve exact nutrition panels, ingredient callouts, and brand logos while placing the item in a warm, appetizing context.
Whether you sell specialty olive oils, artisanal coffee beans, energy bars, or bottled sauces on Shopify and Amazon, this guide breaks down how to produce commercial-grade food product photography efficiently.
1. The Three Non-Negotiables of Packaged Food Photography
Food shoppers make purchase decisions in milliseconds. Your product photography must pass three critical tests:
- Uncompromised Label Legibility: Nutritional claims (e.g., "Non-GMO", "Gluten Free"), net weight, and ingredient lists must remain razor-sharp. Shoppers inspect labels before buying; any blurriness or distortion erodes buyer trust immediately.
- Appetite Appeal Through Lighting: Flat, clinical lighting makes food packaging look cheap. Controlled side-lighting or rim-lighting brings out the matte texture of paper pouches or the rich amber glow of bottled liquids.
- True-to-Life Colors: If your strawberry jam looks brownish or your matcha tea powder looks yellowish due to improper white balance, return rates and negative reviews will surge.
2. Recommended Studio Lighting and Angles
You do not need a multi-thousand-dollar studio to get crisp, commercial stills. Here is the recommended baseline setup:
Camera Angles for Different Food Packaging Types
- Eye-Level (0° to 15°): Best for upright bottles, beverage cans, condiment jars, and tall standing pouches. This mirrors how the customer sees the item on a supermarket shelf.
- Three-Quarter Angle (45°): Ideal for shallow boxes, snack bags, and confectionery packages. It communicates both front branding and product depth in a single shot.
- Overhead Flat Lay (90°): Effective for meal kits, spice blends, and open ingredient arrangements, though less suitable for your primary e-commerce hero image.
Controlling Reflections on Plastic and Glass
Glossy food packaging is notorious for unwanted glare and reflections.
- Use a large diffused softbox placed 45 degrees to the left or right of the package.
- Place a white foam core bounce board on the opposite side to gently fill dark shadows without creating a secondary harsh reflection.
- Polarizing filters (CPL) on your lens can drastically cut blinding highlights on clear plastic wrap or reflective foil pouches.
3. Composing the Scene: Context That Sells
While Amazon requires a pure white background for main listing images, secondary images on DTC storefronts, Instagram, and Etsy convert best when set in realistic culinary environments.
- The Morning Kitchen: Warm morning light streaming across a light oak countertop or clean tile backsplash, perfect for coffees, spreads, and breakfast granolas.
- The Modern Pantry: Clean, minimalist stone or slate shelving with soft neutral undertones, ideal for premium spices, gourmet vinegars, and functional beverages.
- The Chef's Prep Table: Subtle wooden cutting boards, marble slabs, or linen napkins. Props should remain muted and out of focus so the packaging is the hero.
4. Scaling Food Stills with Shotmira's AI Product Photo Generator
Traditional tabletop food photoshoots require food stylists, physical props, studio rentals, and hours of post-processing. When launching new flavor variants or seasonal SKUs, repeating full studio shoots becomes cost-prohibitive.
Shotmira solves this with a product-fidelity-first workflow:
- Upload One Clean Product Shot: Take a single well-lit photo of your bottle, jar, or box against a clean background.
- Preserve the Authentic Product Layer: Shotmira creates an accurate boundary mask around your product. Your actual brand typography, barcodes, and nutrition facts are 100% preserved—the AI generates only the background and ambient lighting, never hallucinating or altering your real packaging.
- Pick a Curated Setting: Choose from commercial presets like Warm Stone, Kitchen Counter, or Clean Studio.
- Export in Multiple Ratios: Instantly preview and download in 1:1 square for listing carousels, 4:5 for Instagram, and 9:16 for TikTok or Amazon Posts.
- Turn Stills into Silent Video B-Roll: Add a subtle 5-second camera push-in or gentle pan to produce product motion without expensive videographers.
5. Common Mistakes to Avoid
- Overcrowding with raw ingredients: Adding garlic, chili, and basil leaves around your sauce jar can look messy. Ensure props never cover more than 15% of the frame.
- Ignoring color temperature: Warm light (3200K) feels cozy for baked goods, but daylight-balanced light (5000K–5600K) ensures packaging colors are represented accurately.
- Inconsistent shadows across SKU lines: When selling multiple flavor lines, keep lighting direction and shadow softness identical across all images to maintain a cohesive brand feel on your collection pages.
By starting with a crisp silhouette and leveraging fidelity-preserving AI tools like Shotmira, food entrepreneurs can produce high-converting, studio-grade imagery in minutes rather than days.
Read more
Etsy Product Photography: How to Create High-Converting Listing Images on a Budget
Master Etsy product photography with simple setups. Learn how to take warm, captivating lifestyle photos that showcase craftsmanship and drive shop conversions.
Amazon Product Photo Requirements (2026): Main Image Standards & Compliance Checklist
Master official Amazon product photo requirements for 2026. Learn exact rules for pure white backgrounds (RGB 255), 85% frame filling, prohibited elements, and lifestyle secondary images.
Amazon Product Photo Size & Dimension Guide (2026): Exact Pixels, Ratios & Zoom Standards
Everything you need to know about Amazon product photo sizes in 2026. Discover optimal resolutions for hover zoom (2000x2000px), 1:1 aspect ratios, file formats, and mobile display rules.